Installing TrenchBoot AEM in Qubes OS
This document shows how to install Anti Evil Maid from packages produced by 3mdeb as part of TrenchBoot as Anti Evil Maid project. If you wish to build the components yourself, please refer to documentation for developers instead.
Installation
To install, you have to first add a new repository and import a public part of a key that was used to sign RPM packages.
Adding AEM repository
To add a new repository, create in dom0 as root /etc/yum.repos.d/aem.repo
with the following content:
[aem]
name = Anti Evil Maid based on TrenchBoot
baseurl = https://dl.3mdeb.com/rpm/QubesOS/r4.2/current/dom0/fc37
gpgcheck = 1
gpgkey = https://dl.3mdeb.com/rpm/QubesOS/r4.2/current/dom0/fc37/RPM-GPG-KEY-tb-aem
enabled = 1
The key specified in the file must be downloaded and imported to RPM:
qvm-run --pass-io sys-net \
    'curl -L https://dl.3mdeb.com/rpm/QubesOS/r4.2/current/dom0/fc37/RPM-GPG-KEY-tb-aem' \
    > RPM-GPG-KEY-tb-aem
sudo rpm --import RPM-GPG-KEY-tb-aem
Now it should be possible to download and install packages from AEM repository.
Intel systems dependencies
If your device has an Intel CPU, download official package from Intel
and extract ACM appropriate for your platform to /boot/.
Installing prerequisite packages
Qubes repository dependencies
Start by installing prerequisite packages. Those are not part of newly added
repository, but qubes-dom0-current-testing:
sudo qubes-dom0-update --enablerepo=qubes-dom0-current-testing \
    oathtool \
    openssl \
    qrencode \
    tpm-extra \
    trousers-changer \
    tpm-tools
Prepare a list of AEM packages
For convenience, the packages can be saved to an environment variable:
packages=(
    "anti-evil-maid-4.2.1-1.fc37.x86_64"
    "grub2-common-2.13-1.fc37.noarch"
    "grub2-tools-2.13-1.fc37.x86_64"
    "grub2-tools-extra-2.13-1.fc37.x86_64"
    "grub2-tools-minimal-2.13-1.fc37.x86_64"
    "python3-xen-4.17.5-7.fc37.x86_64"
    "xen-4.17.5-7.fc37.x86_64"
    "xen-hypervisor-4.17.5-7.fc37.x86_64"
    "xen-libs-4.17.5-7.fc37.x86_64"
    "xen-licenses-4.17.5-7.fc37.x86_64"
    "xen-runtime-4.17.5-7.fc37.x86_64"
)
Legacy Systems
If your system has a legacy BIOS, run:
packages+=(
    "grub2-pc-2.13-1.fc37.x86_64"
    "grub2-pc-modules-2.13-1.fc37.noarch"
)
UEFI Systems
If your system has a UEFI BIOS, run:
packages+=(
    "grub2-efi-x64-2.13-1.fc37.x86_64"
    "grub2-efi-x64-modules-2.13-1.fc37.noarch"
)
AMD systems
If your systems has an AMD CPU, run:
packages+=(
    "secure-kernel-loader-0+224af56470eff64f2cc1f74c1e1099d3f170636f-1.fc37.x86_64"
)
Installing
Install the packages (first command reinstalls existing packages in case the same version numbers exist on official Qubes repositories, second one only adds new packages):
qubes-dom0-update --disablerepo="*" --enablerepo=aem --action=reinstall -y ${packages[@]}
qubes-dom0-update --disablerepo="*" --enablerepo=aem --action=install -y ${packages[@]}
Updating GRUB on legacy systems
Booting on legacy systems requires manual installation of GRUB2 to the MBR of disk where Qubes OS is stored. If your systems has a Legacy BIOS, follow these instructions.
If you are sure where the root partition is located, you can skip the following steps explaining how to find it out.
To check on which drive is your OS installed, run:
-
Get the Logical Volume (LV) file:
df --output=source /Example LV file:
/dev/mapper/qubes_dom0-root -
Map the Logical Volume (LV) to a Volume Group (VG):
sudo lvs /dev/mapper/qubes_dom0-root --noheadings -o vg_nameExample VG name:
qubes_dom0 -
Map the Volume Group to a Physical Volume (PV):
sudo vgs --noheadings -o pv_name qubes_dom0Example PV file:
/dev/mapper/luks-12345678-1234-1234-1234-123456789abc(GUID) -
Find the PV name in
lsblkoutput and check on which device it is located.lsblk -o NAMEExample output:
sda
├─sda1
├─sda2
└─sda3
  └─luks-12345678-1234-1234-1234-123456789abc
The drive on which the root partition is located in this example is therefore
/dev/sda.
Remember that GRUB2 must be installed on disk and
not on partition, so don’t use sda1, nvme0n1p1 etc. This step should be
skipped on UEFI systems.
sudo grub2-install /dev/sda
Installing main AEM package
Finally, anti-evil-maid package may be installed:
sudo qubes-dom0-update --disablerepo="*" --enablerepo=aem \
    anti-evil-maid-4.2.1-1.fc37.x86_64
Provisioning
All packages are in place. Before we can proceed with provisioning AEM, the TPM must be cleared in the BIOS. Some platforms may require disabling Intel Trusted Execution Technology (TXT) in order to clear TPM. After you clear the TPM, remember to enable Intel TXT back, otherwise AEM will not work. Once TPM is cleared, perform the TPM setup:
sudo anti-evil-maid-tpm-setup

You will be prompted to set the SRK password, it is a password to access TPM’s nonvolatile storage where the AEM secrets will be sealed. If you failed to clear the TPM, you will be shown a message like this:
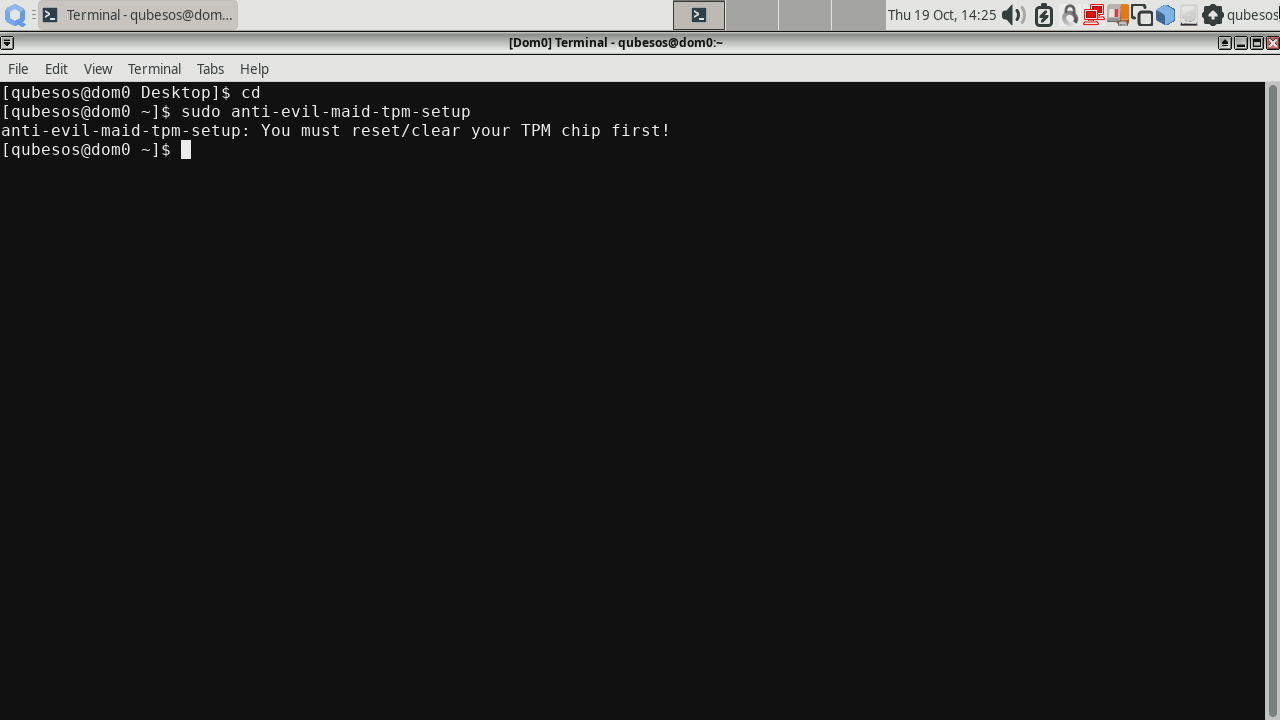
In that case, try clearing the TPM in your BIOS and run the command again.
Now all that's left is proper installation of AEM. There are different options,
refer to anti-evil-maid-install -h for examples. In the simplest case, AEM is
installed on boot partition (not disk, i.e. sda1 instead of sda etc.) of
Qubes OS. Run this command to find out where your boot partition is installed:
df --output=source /boot
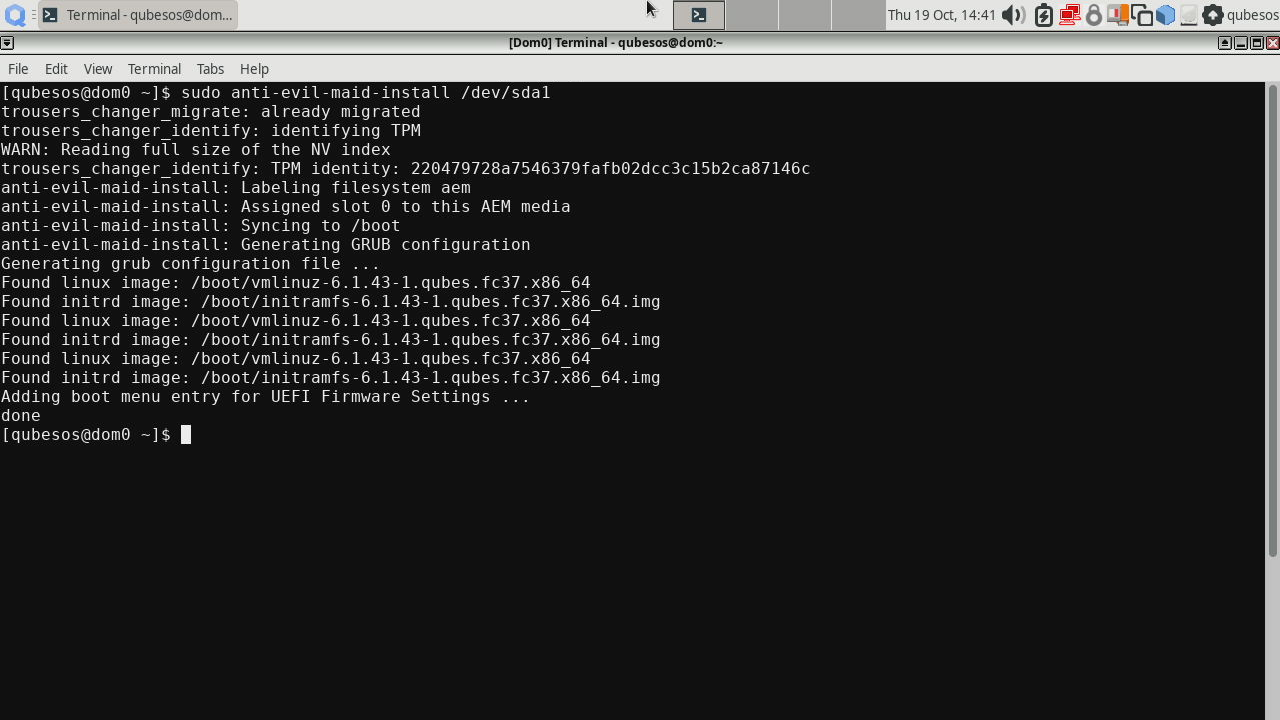
Assuming that your boot partition is installed on /dev/sda1, the
installation can be done with a simple command:
sudo anti-evil-maid-install /dev/sda1
After that, reboot the platform. On first boot you will be asked for the SRK password, followed by another question for disk encryption password, after which a screen mentioning absent secret file will be shown:
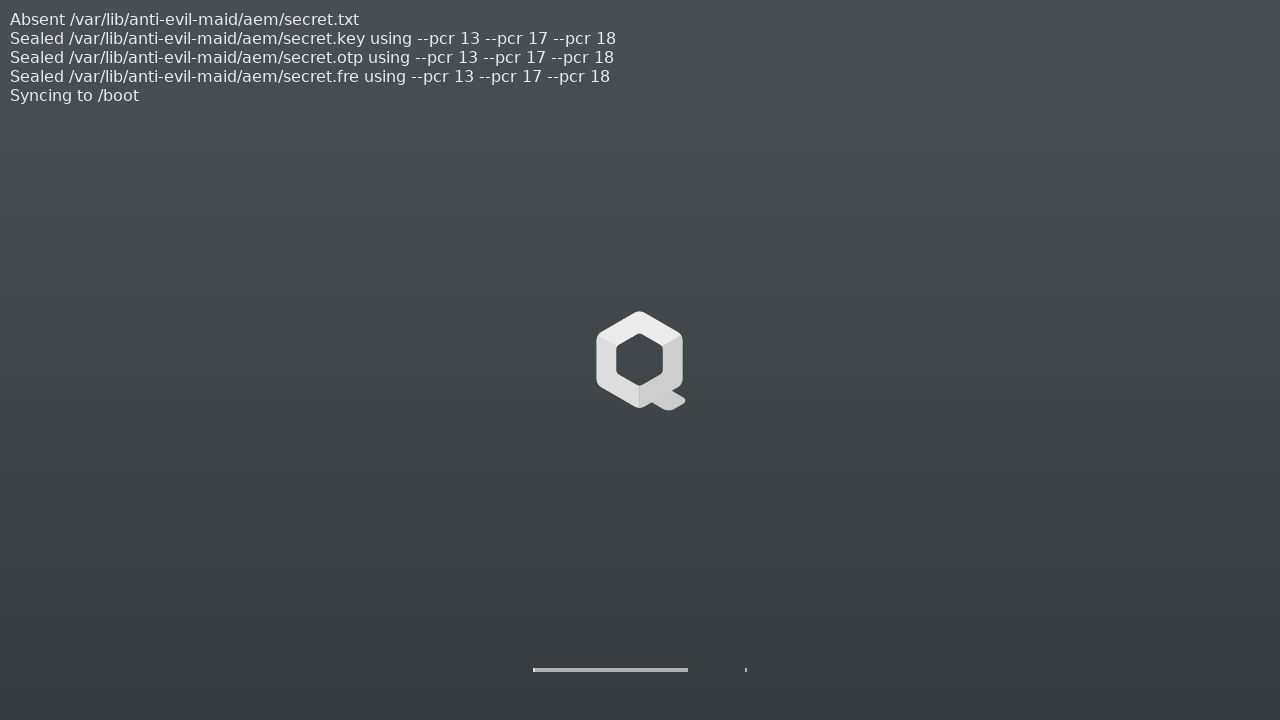
This is expected on the first boot after installation or an update to one or more of measured components (GRUB, Xen, dom0 kernel and initramfs). After rebooting for the second time, the Anti Evil Maid should be up and running.